How to Install Cane Webbing: Press-in Spline Method vs. Staple Method
How to Install Cane Webbing: Press-in Spline Method vs. Staple Method
If you have ever ordered a beautiful roll of rattan cane webbing and then stared at your chair frame wondering where to begin, you are not alone. Installation is the single biggest question we receive at Surika — and the good news is that cane webbing installation is far easier than it looks, provided you pick the right method for your frame.
There are two mainstream approaches: the press-in spline method and the staple method. This guide walks through both, explains the soaking rules that differ dramatically between materials, and covers the mistakes that ruin more caning projects than anything else.
Step One: Look at Your Frame Before You Buy Anything
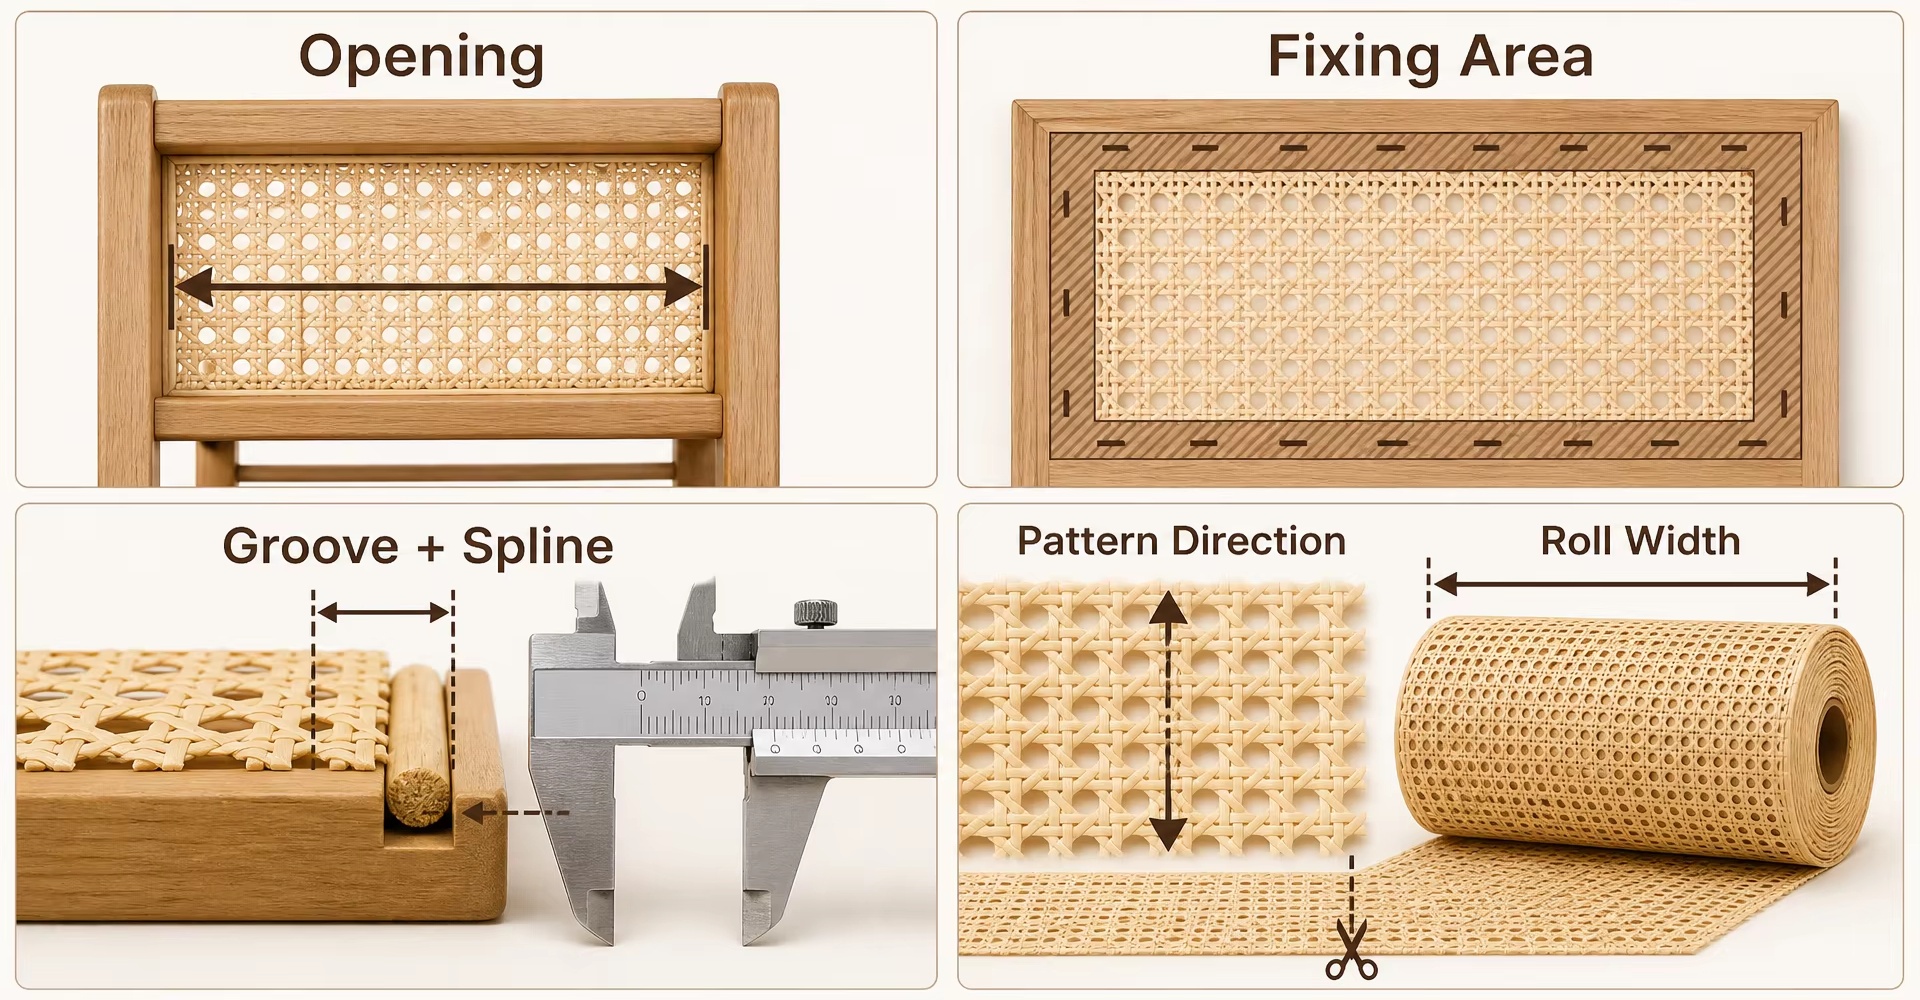
Before choosing a technique, flip your piece over and inspect the opening. You are looking for one thing: is there a groove?
A narrow channel routed around the perimeter of the opening means your frame was built for press-in cane webbing — also called pressed cane or machine-woven cane. This is what you will find on most dining chairs, mid-century cane chair seats, and factory-made cane cabinet doors.
No groove — just a flat wooden surface or a rebated lip — means you will use the staple method, typically finished with trim moulding. This is standard for cane webbing wall panels, room dividers, headboards, and most custom DIY cane cabinet door conversions where the cane is applied to the back of the frame.
One important clarification: press-in cane webbing is not the same as hand-caning, where individual strands of chair cane are threaded through a ring of drilled holes. If your frame has a border of small holes rather than a groove, you need hand-caning strands, not a cane webbing roll. Confusing the two is the most expensive mistake a beginner can make.
Method A: The Press-in Spline Method
This is the traditional technique for grooved frames, and it produces the cleanest, most professional result.
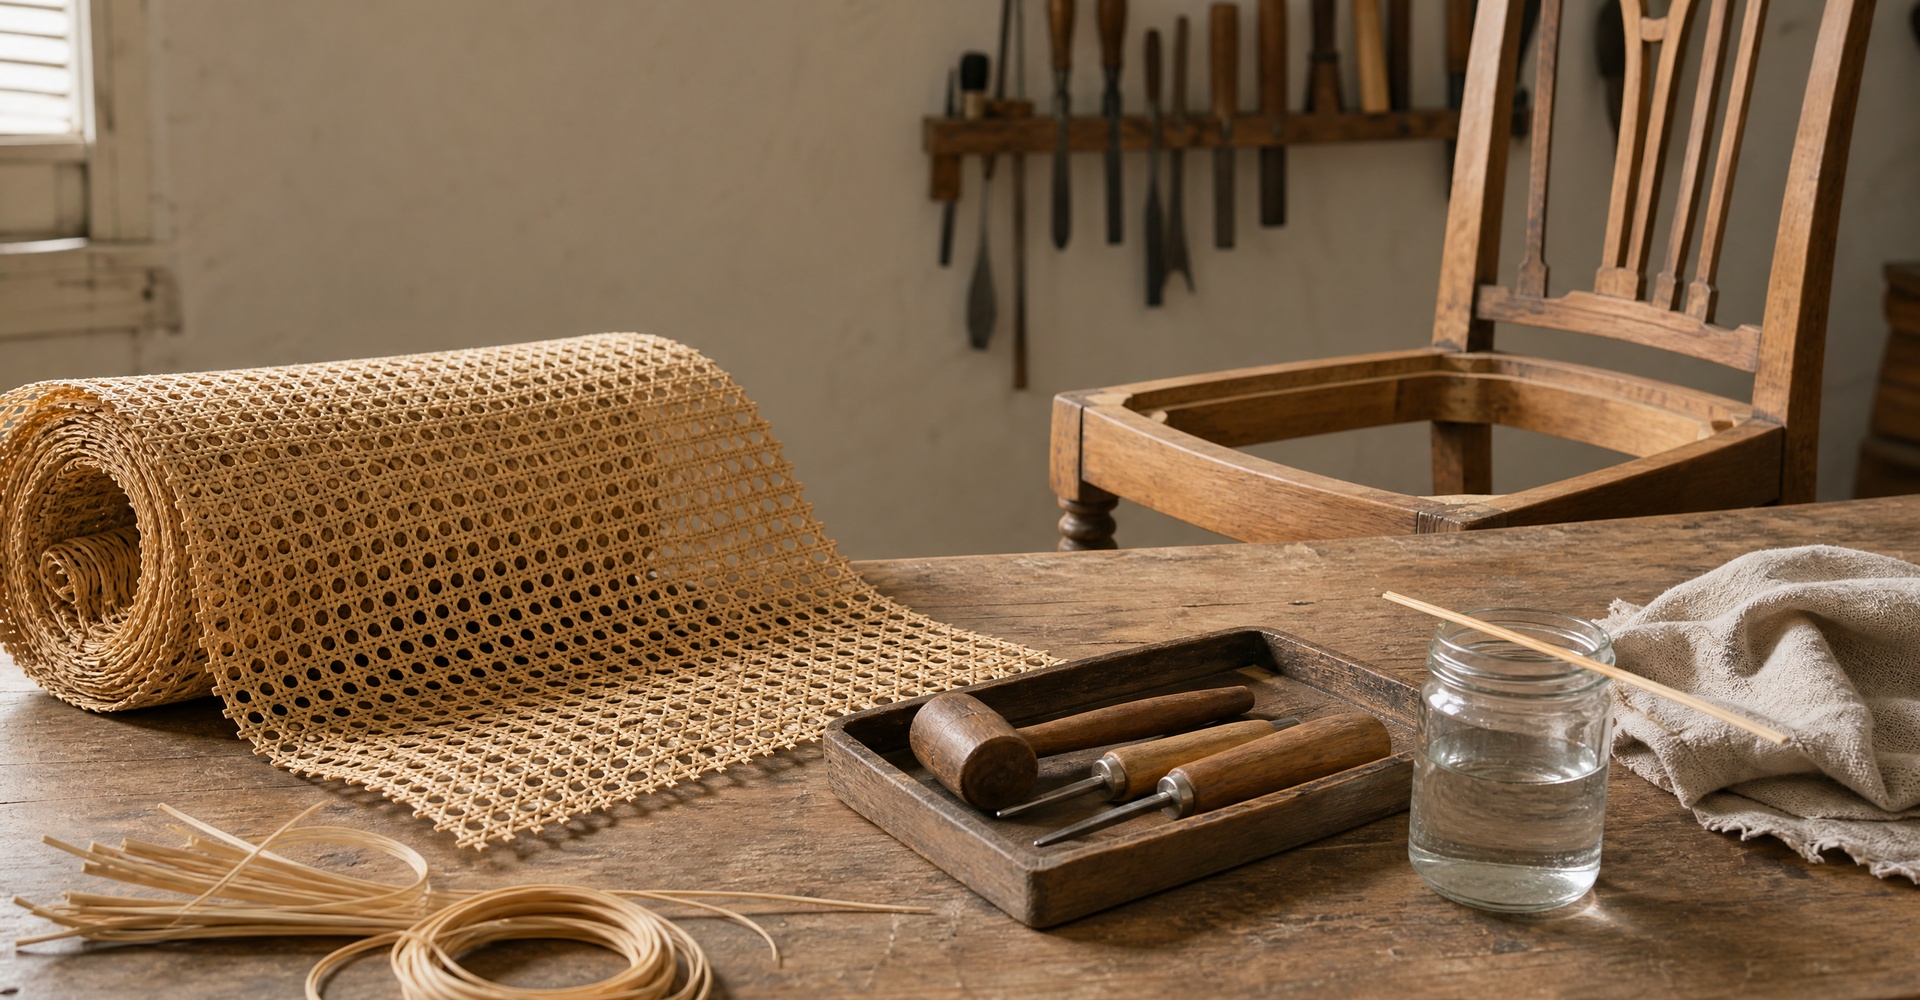
What you will need: your cane webbing roll, reed spline (the wedge-shaped strip that locks the cane into the groove), caning wedges, a mallet, a sharp utility knife, wood glue, and a chisel to clear the old groove.
Choosing the right spline is critical. Spline is sized to the groove, not to the cane. Clean out every trace of old spline and dried glue first, then measure the groove width with calipers at several points around the opening — older frames are rarely consistent. Select a spline that fits snugly with light pressure. Too narrow and the cane will pull loose within months; too wide and you risk splitting the groove wall, which is a genuinely difficult repair. If you are ordering material in bulk and are unsure which specification matches your frames, send us your groove measurements and we will match it for you.
The steps:
-
Soak the webbing (see the soaking rules below — this step differs entirely by material).
-
Position the cane over the opening with the shiny side facing up and the weave running parallel to the frame edges. Leave 2–3 cm of overhang on every side.
-
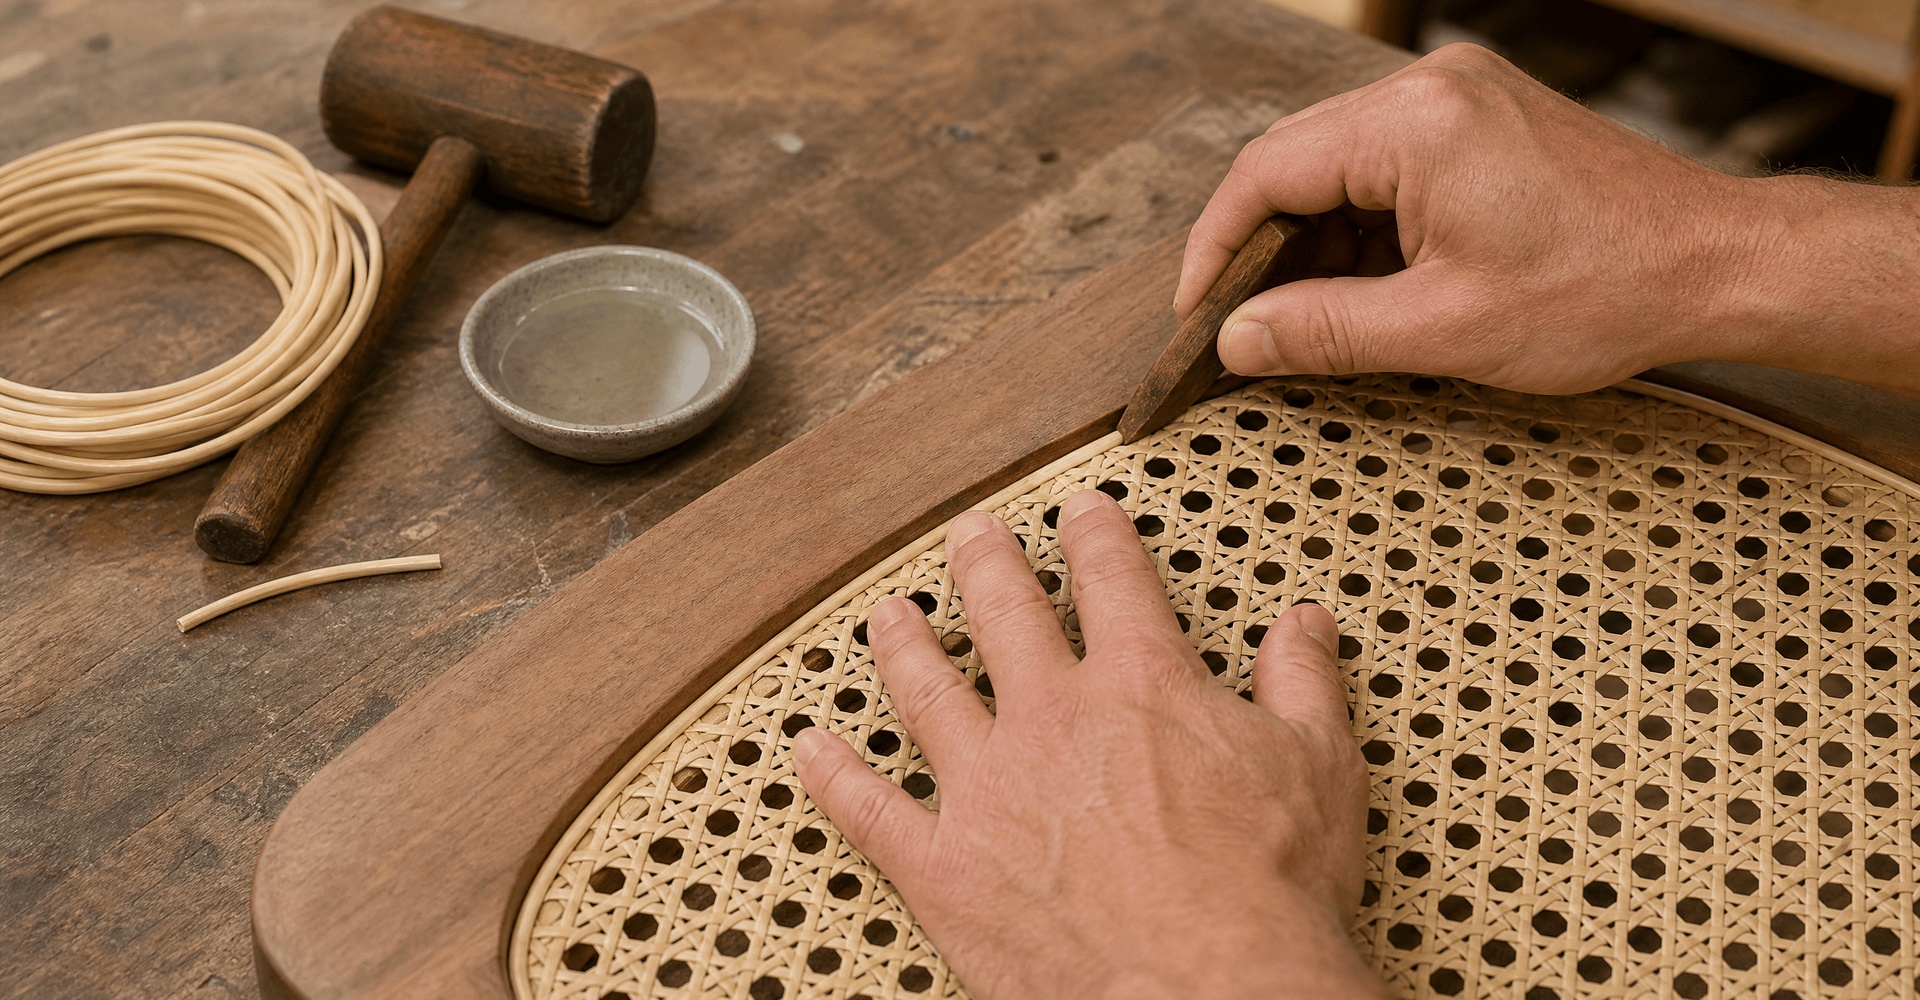
Set the cane into the groove using wedges, working from the centre of each side outward, then the corners. The cane should sit slightly below the groove surface. Do not stretch it drum-tight — natural rattan webbing tightens considerably as it dries.
-
Trim the excess just above the groove line with a utility knife.
-
Apply glue into the groove, then tap the spline in with a mallet, using a single continuous length where possible. Mitre the corners neatly.
-
Let it dry for 24 hours without disturbing it. The cane will tension itself as the fibres contract.
Method B: The Staple Method
For flat frames with no groove, this approach is faster and very forgiving — ideal for larger decorative surfaces.
Cut the cane webbing sheet with 3–4 cm of overhang. Soak it if the material allows. Centre it over the opening and staple the middle of one side, then the opposite side while applying gentle even tension, then the two remaining sides — always working centre-outward to prevent the weave from skewing diagonally. Trim the excess close to the staples, then conceal the edge with trim moulding, beading, or a picture-frame lip.
For cane webbing cabinet doors, applying the material to the back of the door frame hides all fixings completely and gives a clean showroom finish from the front.
The Soaking Rules Nobody Tells You
This is where most projects fail, because soaking is material-specific and the wrong choice causes irreversible damage.
Natural rattan cane webbing should be soaked in warm water for roughly 30 to 60 minutes — long enough to become pliable, but no longer. Over-soaking leaches out the natural resins, leaves the fibres limp, and invites mould. The cane should feel flexible and leathery, never soggy.
Plastic cane webbing must never be soaked. Synthetic rattan webbing is already flexible and gains nothing from water. It also expands and contracts with temperature rather than moisture, so for outdoor installations you should fit it on a warm day with a little relaxation allowance, rather than pulling it tight in cold conditions.
Paper cane webbing must never be soaked under any circumstances. Water destroys the twisted paper fibre structure permanently. Work with it dry, handle it gently, and use it only in dry interior applications.
Cotton and fibre webbing should be lightly misted at most, never submerged.
Because natural cane self-tightens on drying while synthetics do not, the two materials need genuinely different handling — a distinction worth understanding before your first cut.
Five Mistakes to Avoid
Over-soaking. More time in the water does not mean easier installation. It means a weak, mould-prone seat.
Stretching natural cane too tight during fitting. It shrinks as it dries. Fit it snug, not tight, or it will split or tear away from the spline.
Oversized spline. Forcing a spline that is too wide splits the groove wall — always test-fit on a short offcut first.
Skipping the wet-installation, dry-cure sequence. Rushing back into use before the full 24-hour cure is the leading cause of premature sagging.
Ignoring weave direction. Running the pattern diagonally instead of parallel to the frame is immediately visible and cannot be corrected after the spline is glued in.
Sourcing the Right Material
Successful caning starts with consistent material. At Surika (Suzhou Surika Co., Ltd, manufacturing since 2015), we supply natural cane webbing rolls, plastic cane webbing, paper, cotton and fibre webbing, alongside rattan core, chair cane and related caning supplies — in open weave, closed weave, square mesh, herringbone and diamond weave patterns, with custom widths and OEM packaging available.
Whether you are restoring a single heirloom chair or running a production line of woven cabinet doors, choosing material matched to your frame and environment is what separates a repair that lasts twenty years from one that fails in a season.
Need help selecting the right specification, weave or width for your project? Contact the Surika team for samples and expert guidance.
How to Weave a Rush Chair Seat with Single-Ply Seagrass Rope: A Step-by-Step Guide
How Can Rattan - Woven Elements Achieve Advanced Playstyles? The 2026 Home Trends Provide the Answers